

Rolling a joint is a time-honored tradition among cannabis enthusiasts.
Though there are many ways to consume, rolling a joint allows you to savor the flavors and experience the ritualistic aspect of smoking. But let’s be honest: It can be a little intimidating.
While pros like Seth Rogen can make it look easy, rolling a quality joint takes practice and patience—though you can look into simple little “rolling machines” that help ensure consistent quality with every roll.
So, if you’re new to this art form, fear not! In this guide, we’ll walk you through the process step by step.
ROLLING A JOINT
1. Gather Your Supplies
To roll a joint, you’ll need a few essential items. Here’s what you’ll need:
Cannabis flower: Purchased locally, of course. We suggest a half gram while you’re still getting the hang of it.
Rolling papers: Select high-quality, standard-sized rolling papers. Some popular brands include RAW, Zig-Zag, and OCB. For a half gram, use 1¼ size rolling papers.
Grinder: Grind your cannabis into a consistent texture for optimal burning and even airflow.
Filter tip: Also known as a crutch or roach, a filter tip provides stability, prevents small pieces of cannabis from being inhaled, and lets you smoke every last milligram. You can either buy pre-formed tips or flat sheets. If using the latter, do a couple accordion folds and then wrap the rest of the tip around, so you essentially have an M shape inside a circle.
2. Prepare the Rolling Paper/Tip
Take a rolling paper and hold it between your fingers with the gum strip facing up. The gum strip is a thin line of adhesive along one edge of the paper (like an envelope). This is the side that will seal your joint. On one end of the paper, set your tip down.
3. Fill the Joint
Sprinkle the ground cannabis onto the paper, spreading it along the length, up against the tip. Ensure the distribution is even, leaving some space at one end to form the tip.
4. Roll the Joint
With your thumbs and index fingers, gently pinch the paper between your fingertips while holding the filter tip. Roll the paper back and forth to distribute the cannabis evenly and create a cylinder shape.
5. Seal the Joint
Lick the gum strip gently and continue rolling until the gum strip meets the paper. Press the gum strip onto the paper and give it a gentle squeeze to seal the joint.
6. Finishing Touches
Inspect the joint and gently pack the cannabis to ensure an even burn. Tuck in any loose ends or excess paper. You can use a pen or similar object to gently pack the cannabis. Then it’s time to light up and enjoy!
AVOIDING CANOEING
Now that you’re ready to smoke the joint, there’s one last thing to watch out for: the dreaded canoe. This is when your joint starts burning faster on one side than the other, which can lead to a big floppy canoe of ashes and a very inefficient smoke.
Grind properly. If you have big lumps and small flakes together, chances are you’re going to get an uneven burn. Consistency is key!
Pack evenly. Too loose and you’ll have big air pockets. Too tight and you’ll have no airflow at all.
Light it right. Start by gently lighting the end while rolling it, getting a nice toast all around. Then take light pulls to get things going. Keep rotating it as you smoke.
Lick it good. If the canoeing has already begun, put a little saliva on the part of the paper that’s burning faster to slow it down. Then use the lighter again on the slower side to burn off some of the paper.
Break it up. Canoeing is more common with pre-rolls, because they’re typically packed by machines. Gently roll the joint between fingers to break up the weed and counteract any air pockets or settling.
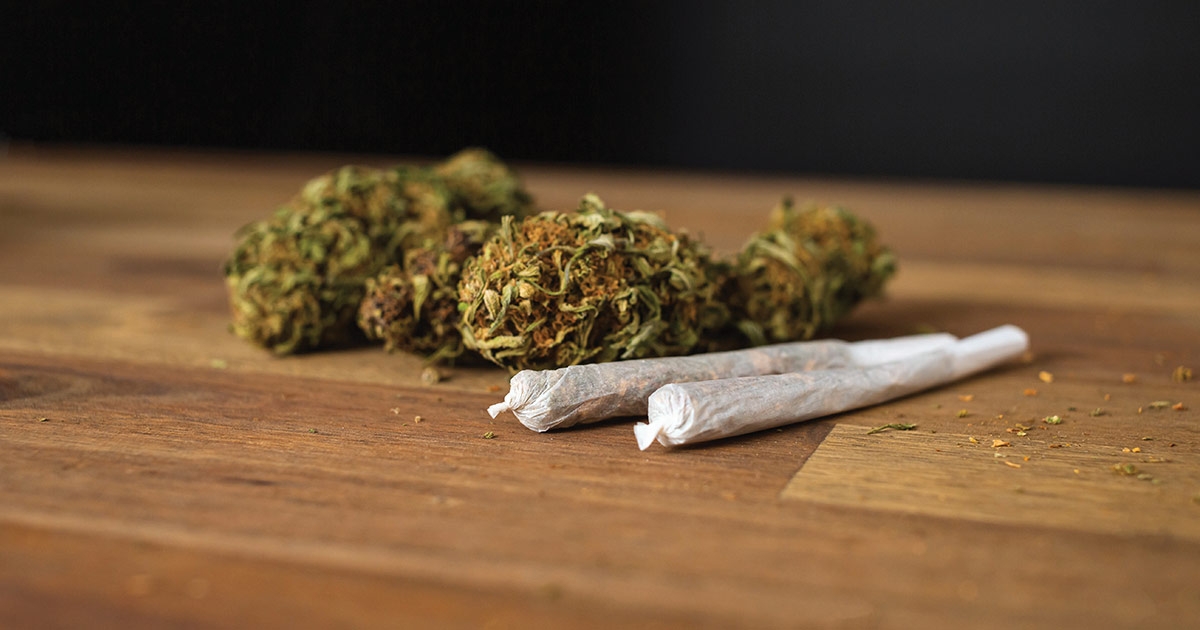
PRE-ROLLS
You might be thinking, “Why not just buy pre-rolls so I don’t have to deal with all this?” Well, that’s totally fair! But there are pros and cons to be aware of.
Pros
Beginner friendly | Convenient | Discreet | Consistent
Cons
Removes the ritual of rolling | Uneven burns | Often more expensive than flower
If you want a middle ground, I personally love to use cones: empty, preassembled joints with tips. Simply pour your ground flower in the open end, tamp it down and twist the end closed! You get to prepare it all fresh without having to do too much work.
On the other hand: Don’t you want to be the friend that knows how to roll an impressive joint?


